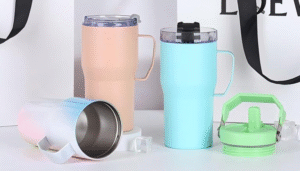
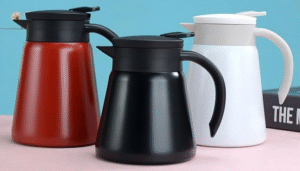
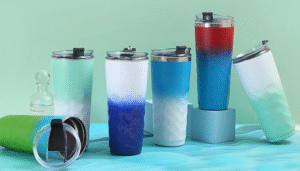
If your thermos is no longer insulated, don’t worry, try these methods to restore its insulation performance.
1. Check and replace the sealing ring
The state of the sealing ring directly affects the insulation effect. Remove the sealing ring, clean it with clean water and neutral detergent, and then check for cracks or deformation. If the sealing ring ages or is damaged, remember to replace it with a new one! When reinstalling the sealing ring, make sure the cover is tightened to ensure good sealing.
2. Clean the inner container and inner wall
Internal fouling can also affect the insulation effect. Clean the inside of the thermos cup with warm water and neutral detergent, especially for hard to reach areas, which can be cleaned with a toothbrush or cleaning brush. If there is stubborn scale, it can be cleaned with white vinegar or baking soda solution, and then thoroughly rinsed off.
3. Check the vacuum layer
There is usually a vacuum layer inside the thermos cup to isolate heat transfer. If accidentally dropped or impacted during use, it may cause the vacuum layer to rupture or deform. Touch the outer wall of the thermos cup with your hand, and if you feel that the outer wall is noticeably hot, or if there is obvious heat around the cup mouth after pouring boiling water into the cup, it may be due to the failure of the vacuum layer. In this case, it is usually not possible to repair it on its own. It is recommended to contact the manufacturer or purchase a new insulated cup.
4. Pay attention to the usage method
To extend the service life and insulation effect of the thermos cup, remember to use it correctly! Avoid storing high temperature or corrosive liquids for a long time, as this can slow down the aging process of the inner liner material.
If the insulation performance of the thermos cup has not been restored after trying the above methods, it may be time to consider replacing it with a new one! When purchasing a new thermos cup, remember to choose a brand with good quality and insulation effect.


